Sprouting Seeds
Lockdown has taught us many things including how we waste so much – you can survive on less toilet paper when you have to!
For me it included the challenge of being able to get fresh greens as much as I like to normally. Even getting frozen veggies was a challenge for a few weeks so what better way than to grow your own sprouts at home.
What are sprouts?
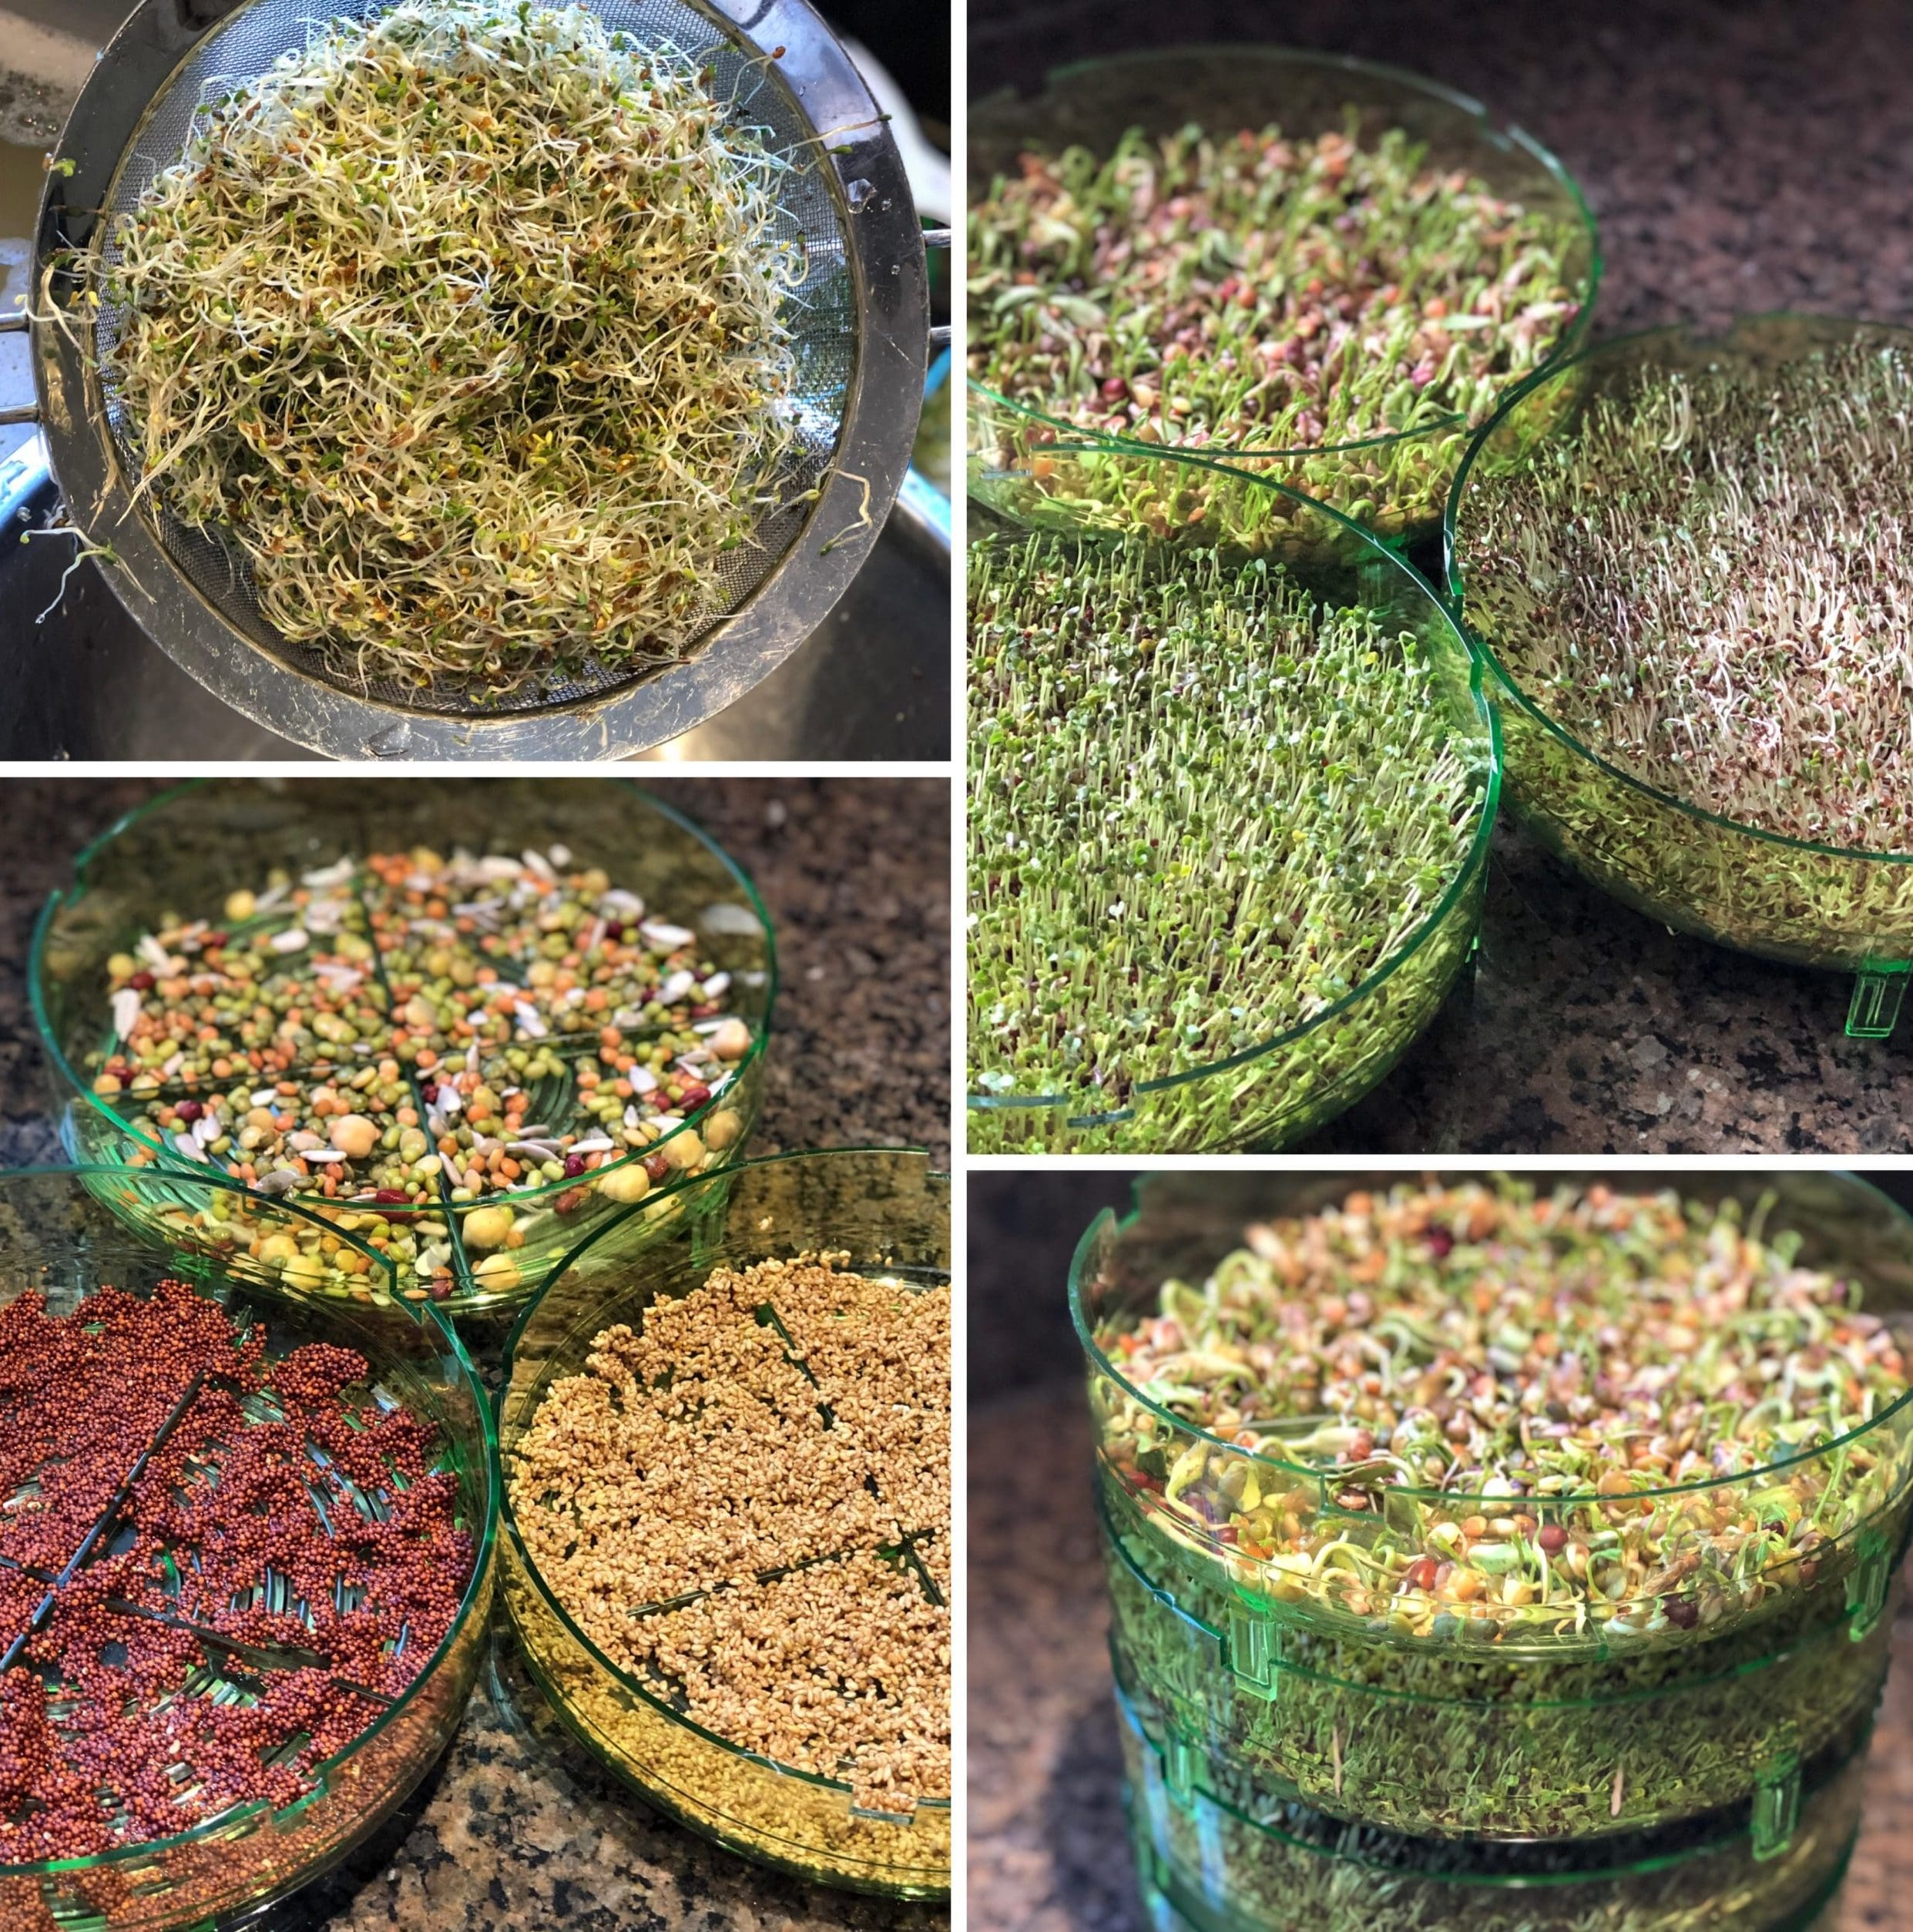
They are dormant seeds that have germinated and become very young plants. After soaking the seeds are exposed to light and moisture for several days and once they develop a “tail” like protrusion they have started to germinate.
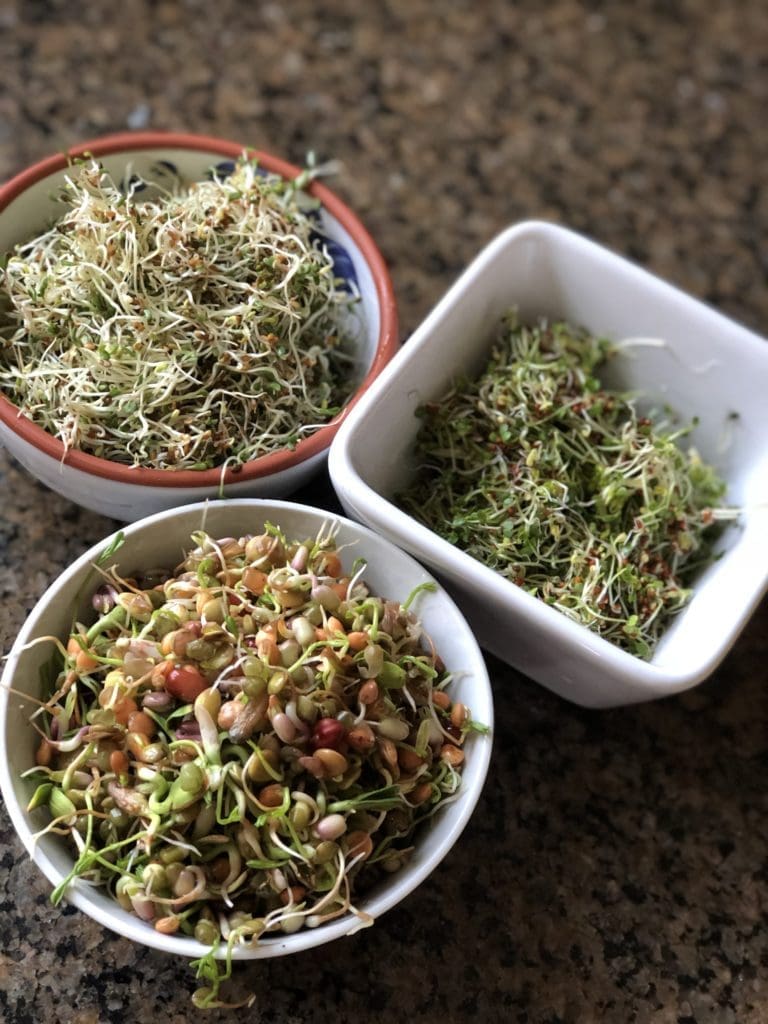
I used to sprout seeds a long time ago and for some reason stopped, and even gave one of my sprouting tray sets away, because I mostly get my sprouts ready grown from the health food shop, however when they sell out or the shops are shut it’s not a great solution so I reinstated one of my jars and then bought another tray set so I could grow more than one type of seed and it has been great!
As I do with most foodie things, I shared the sprouting story on my Instagram stories and also with the members of my free “Eat Well Feel Great” facebook community (anyone is welcome to join that group). It proved very popular and several people started sprouting themselves – is that incorrect English… you know what I mean!
Several of them bought the sprouting trays that I recommended so I decided to create place for people to see what I have used in past in an Amazon shop and in the lifestyle section is the sprouter and lots more here is link .
A also made a video to help people understand a bit more about what it looks like to sprout seeds at home… you’ll see it further down this blog post.
Apart from the amazing nutritional profile of sprouted seeds you can keep the packets of seeds at home for a long time knowing that you will always have a ready supply of fresh, nutritional food after a few days… something that in unusual times such as these can be very useful. I love their crunch and once I have a batch made I’ll keep them in the fridge and add to a salad or really any meal as a way to get some raw enzymes into a meal and an alkalising food, good to balance acidity of meat or fish. It takes seconds to add them to your plate and if you eat sandwiches it’s great to spread some on your filling of choice.
You can also cook with them so sometimes I’ll throw them in a soup for crunch or a stirfry. It could be great to get kids interested in heathy food as they can get involved with growing their own food without needing a garden – they might even eat them too!
You can put something quite low in flavour such as alfalfa into a fruit smoothie if you wanted to “hide” them … wouldn’t try with radish!
Nutrition
Before I explain how to do it here are some of the nutritional benefits:
Sprouting disables some of the “anti-nutrients” in certain plants which makes them more bioavailable so better from a nutritional point of view as we can absorb more of the valuable vitamins and minerals. Some of these include phytates, polyphenols, oxalates and enzyme inhibitors.
In essence by soaking, sprouting or fermenting certain beans, seeds, pulse or nuts we can boost their value to our health. Cooking also reduces some of these anti nutrients which is why we cook beans for example, however some vitamins such as A, D, E, B5, C and B12 are lost through cooking and this doesn’t happen with sprouting.
Depending on what you choose to sprout you will get minerals such as zinc, iron and calcium.

“great to get kids interested in heathy food … they might even eat them too!“
How to do it?
First job is to buy some seeds – click here for a few options
- First job is to buy the type of seeds you fancy – here are a few suggestions (try to choose organic if possible).
- Soak you seeds in water for 8-12 hours
- Drain and rinse a few times before laying them in your tray or jar of choice
- Keep in a moderately warm place out of direct sunlight
- Rinse well with lots of water between 2-3 times a day and make sure the water drains away so they are damp not sitting in water
- They must have good air circulation
- Depending on what you grow they will be ready between 3 – 7 days (mung beans don’t take long and I normally feel they are ready in 5 days – it can depend on the room temperature)
- Once ready to harvest rinse them very well and discard any unopened hulls.
- Allow to drain well for hours or so or you can wrap in kitchen roll to dry before storing in airtight container in fridge.
- They should last several days and if they don’t smell right discard them as they may have gone off – trust your nose to tell you.

Here is the video I made to help you understand a bit more and I’d love to know if you have a go so do comment below or message me as I’m all about #eatmoreveg 🙂
Happy sprouting 🙂
Zita
PS If you didn’t know I used to be an overweight, non-exercising asthmatic so believe me when I tell you that healthy living really is the best thing you can do for your mental and physical wellbeing. Click here to book a trial week at our friendly and fun fitness classes
* Although the word bootcamp can bring images of beasting and endless burpees – we actually don’t operate like that at Zest which is why if you watch the Bath Life Awards video you’ll hear me describe it as group personal training style class. Many of our members have been coming for years so they get coached on exactly what they need.
